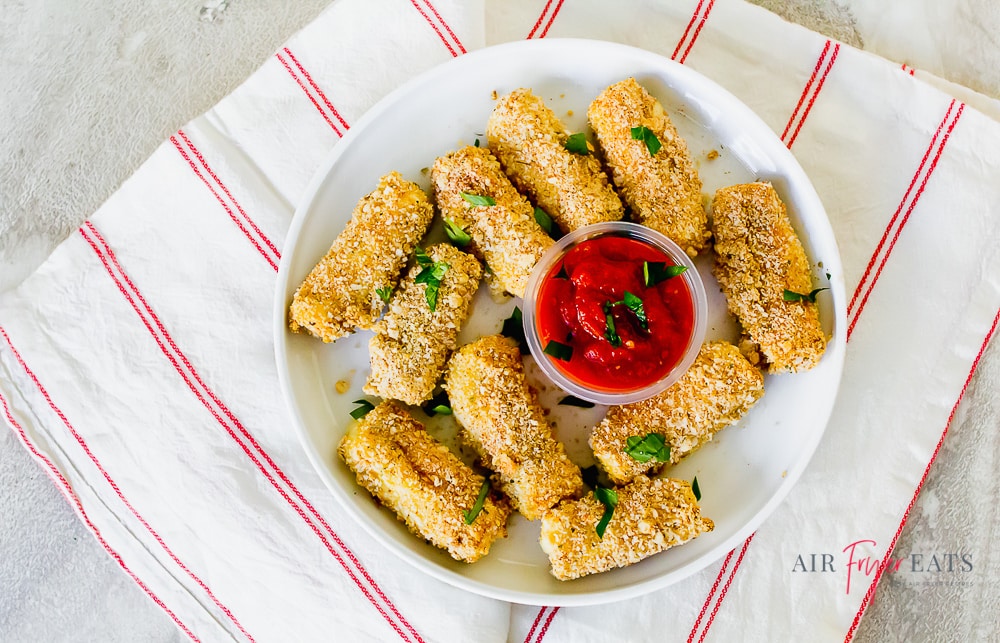
Air Fryer Mozzarella Sticks are a mouthwatering appetizer! They will make you quickly forget the ones in the freezer section.
“Thank you for this recipe. It does take some time, but I like to make them ahead and freeze them. My family loves this.”
Mozzarella sticks are a great handheld snack to feed the masses, and these Air Fryer Mozzarella Sticks take minutes to make and can be prepared way in advance.
How to Make Them
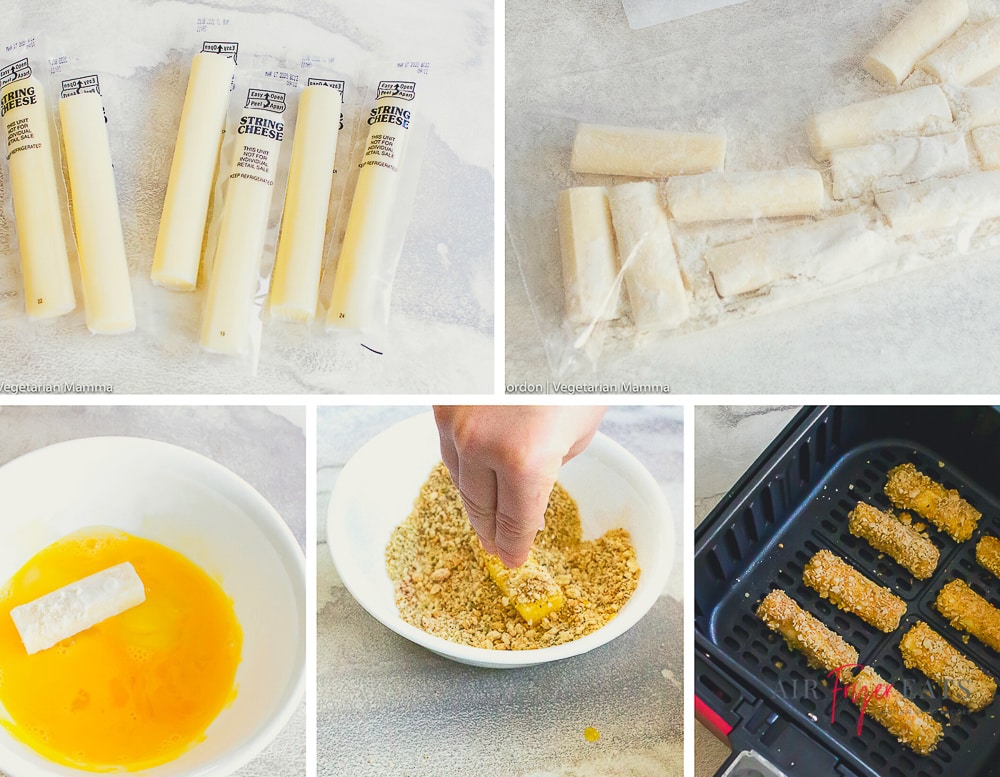
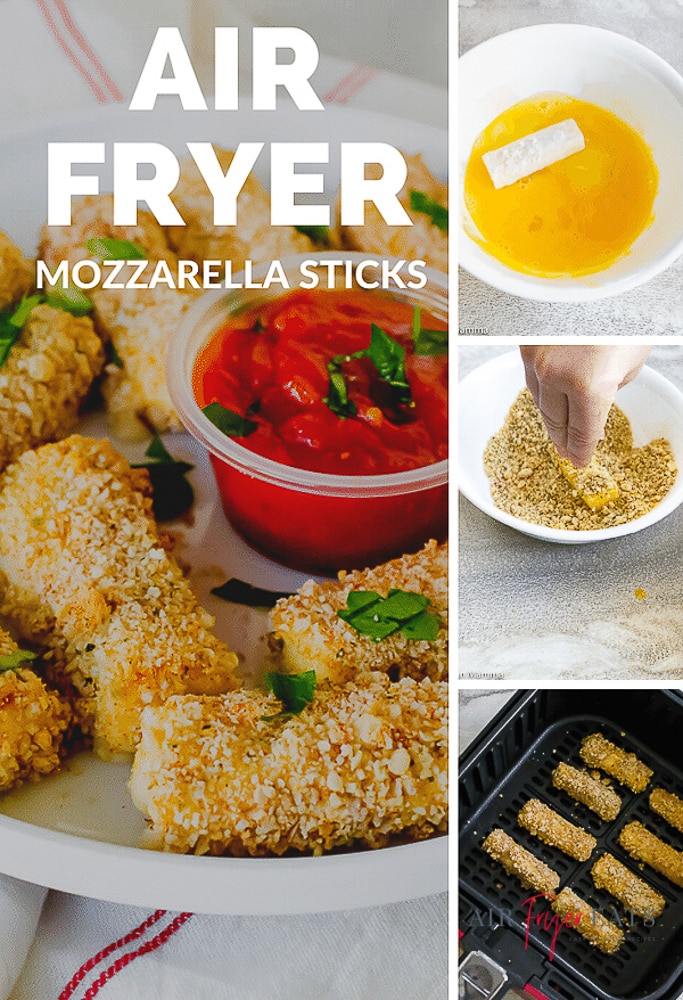
- Put cheese sticks in the freezer for at least half an hour. While they chill, whisk an egg until blended in one bowl. Mix your spices and bread crumbs in another bowl. Pour your flour into a gallon-size ziplock bag.
- Remove cheese sticks and cut in half. Place into a gallon-size bag with flour and shake until cheese sticks are thinly coated.
- Dip each cheese stick in egg wash.
- Dredge cheese sticks through bread crumb and spice mixture, covering all sides. Return coated cheese sticks to the freezer for another half an hour. This step is KEY.
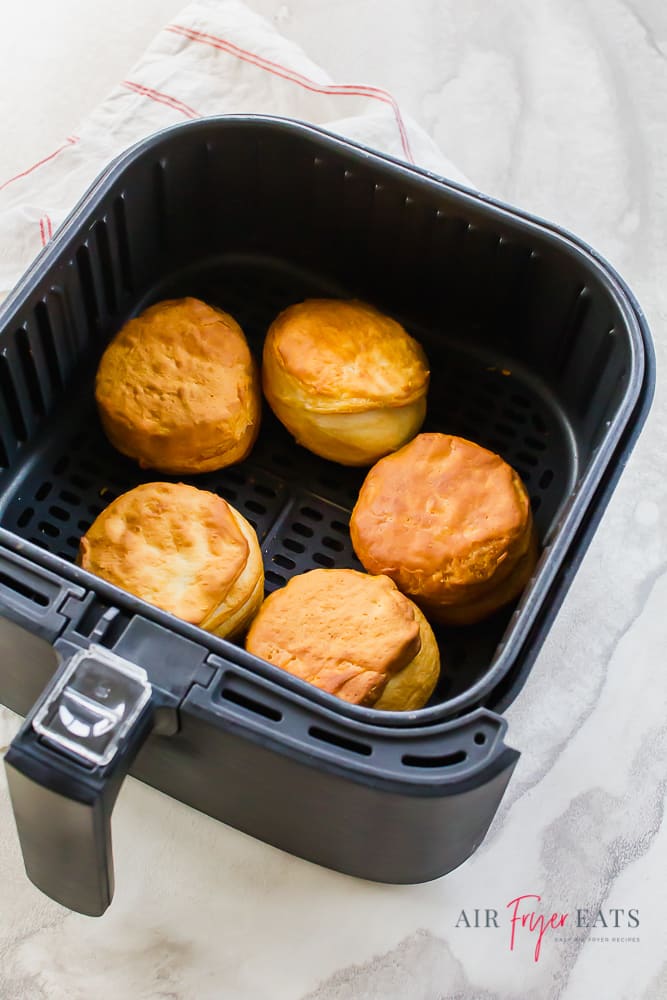
- Cook for 4-5 minutes at 370 degrees. When the timer is done, remove the basket and let the mozzarella sticks cool. If any have exploded, reshape them with a silicon spatula or spoon. Serve with marinara or your favorite dipping sauce and enjoy!
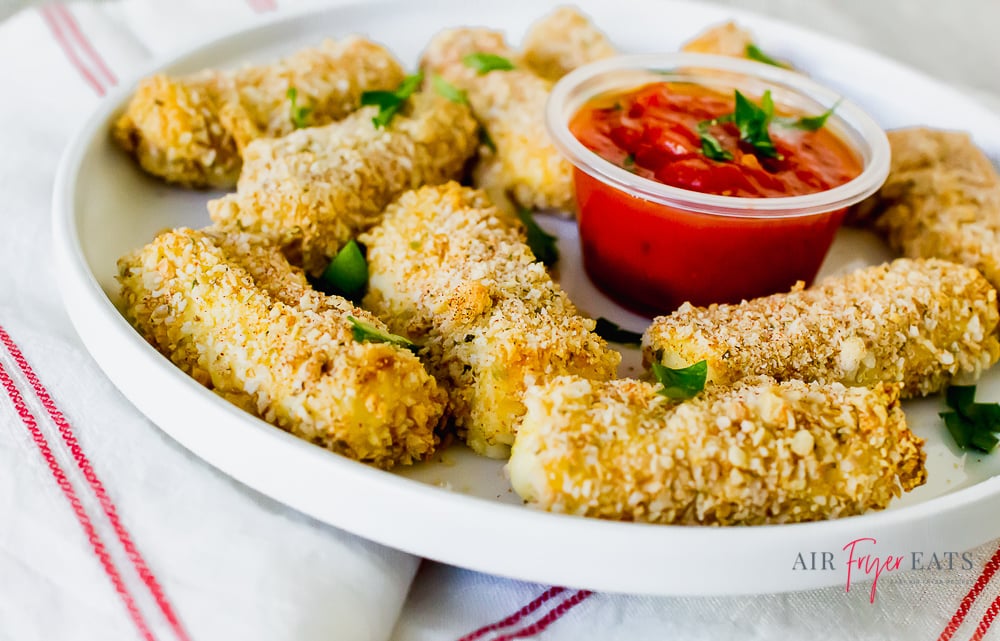
How to Get Max Crunch
Want even more crunch? Coat them twice!
After the first coating and second trip to the freezer, repeat the egg wash and dredging steps to add a second crunchy coat to your Air Fryer Mozzarella Sticks.
Make sure you always freeze them for at least half an hour before cooking to keep the insides from immediately melting in the air fryer basket.
Can I Freeze Them?
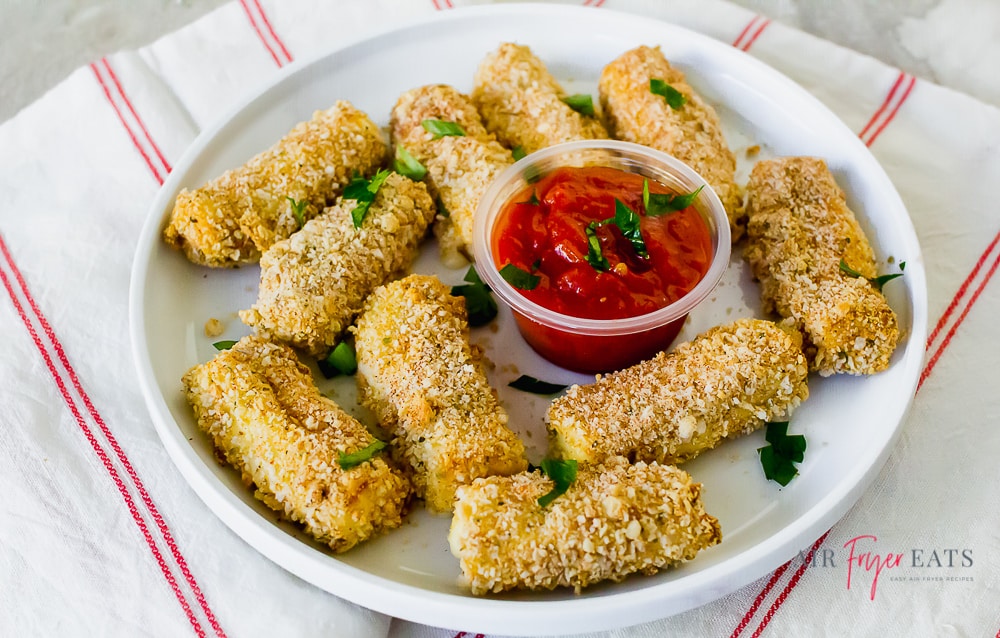
Absolutely! These are the perfect quick after-school snack and better than their pre-made freezer section counterparts.
Complete all the steps before cooking and let the coated cheese sticks freeze solid, for at least a couple of hours.
Transfer the homemade frozen sticks to a ziplock bag and freeze for up to three months.
Air Fryer Mozzarella Sticks
Equipment
Ingredients
- 8 cheese sticks halved
- ½ tsp garlic powder
- ½ tsp smoked paprika
- 1 egg
- ¼ cup flour gluten free or all purpose
- ½ cup bread crumbs
Instructions
- Place cheese sticks in the freezer and allow to chill for at least 30 minutes.
- In a shallow bowl, whisk the egg until blended and set aside.
- In another bowl, mix spices and bread crumbs. Set aside.
- In a gallon sized ziplock bag, add flour and set aside.
- Remove cheese sticks from freezer and cut in half. Put halved cheese sticks into bag with flour. Shake bag to gently coat all over with flour.
- Dip each cheese stick in egg wash.
- Dredge the cheese stick through the bread crumb and spice mixture. Make sure the cheese stick is covered on all sides.
- Place all sticks back into the freezer for another 30 minutes. Do NOT skip this step!
- Place covered cheese sticks in air fryer basket. Cook for about 4-5 minutes at 370 degrees. When timer goes off, remove basket from air fryer but allow mozzarella sticks to cool before handling. Shape any that have melted with a silicone kitchen tool.
- Serve with marinara sauce and enjoy!
Video
Notes
Nutrition Information


Thank you for this recipe. It does take some time, but I like to make them ahead and freeze them. My family loves this.
Bonnie, I am so glad your family loves it! We love these air fryer mozzarella sticks too!
Now I must make these! I just love my air fryer!
Enjoy!
We made these yesterday and they were amazing! They are already a favorite at our house!
So glad your family loved our air fryer mozzarella sticks!
These are the perfect way to start any party and the crunchy texture loooks right up my alley. I wouldn’t have thought to freeze the cheese sticks 1st. That is a great idea! Cheers
Freezing is key! Other wise the cheese will melt quickly!
Mozzarella sticks are our favorite snack. It’s great that now we can make it in our air-fryer. 🙂
Thanks for checking them out Anita!
I’m really starting to love my air fryer (a recent purchase) and can’t wait to dig into these mozz sticks – they look so amazing!
The air fryer is so much fun! I hope you enjoy!
I admit that these do take some TIME with the freezing steps BUT they are worth every minute I spent on them. SO delicious! I used regular panko crumbs, turned out great!
Hi Trey, yes they do take some time, but you are right, so worth it. Thanks for letting me know you used non-glutenfree panko and they turned out great!
I made these gluten free using the Ians bread crumbs. My daughter has Celiac Disease, she was so excited to try them. She loves them. We’ve made them three times so far!
AWE, I love that! I am so excited that your daughter loved them! 🙂 Many of our recipes are naturally gf or can be made that way. Please let me know if you have any questions!
Is m gluten free and so thankful for this recipe. I get to eat these again. This recipe works great
That is great to hear Joan, I am so glad!
This is the first time I’ve made these from scratch, they are delicious. They are worth the extra work and time!
So glad you liked it, thank you for coming back and leaving a review and comment!